Cubby
For as long as I can remember I have wanted to build a fantastic cubby house for my kids. You can buy some pretty big cubbies, but the ones I’ve looked at are a bit flimsy for the amount they charge (easily over $3000 when delivered and installed). If they were cheaper and sturdier I would’ve considered buying one in the interests of time, but instead I ended up building one myself, and I’m really glad.

Currently the cubby is ready for play: it’s not finished, but it’s functional and safe for the kids to play on. A full set of build photos is below, detailing some of the important events and decisons. The rough timeline is:
Late 2013: Design & planning, and purchasing materials. December 2013: Site cleared and sandpit built, with posts ready to support the cubby deck. December 2014/January 2015: I took a month of leave from work over the summer to build the cubby and get it ready for play.
I’m looking forward to the long tail of little projects to complete next, including:
- adding trim over the fibre-cement joins
- adding window frames and windows
- adding a door frame and a door
- painting the whole thing
- enclosing the sandpit with shadecloth
Summer of 2013-2014
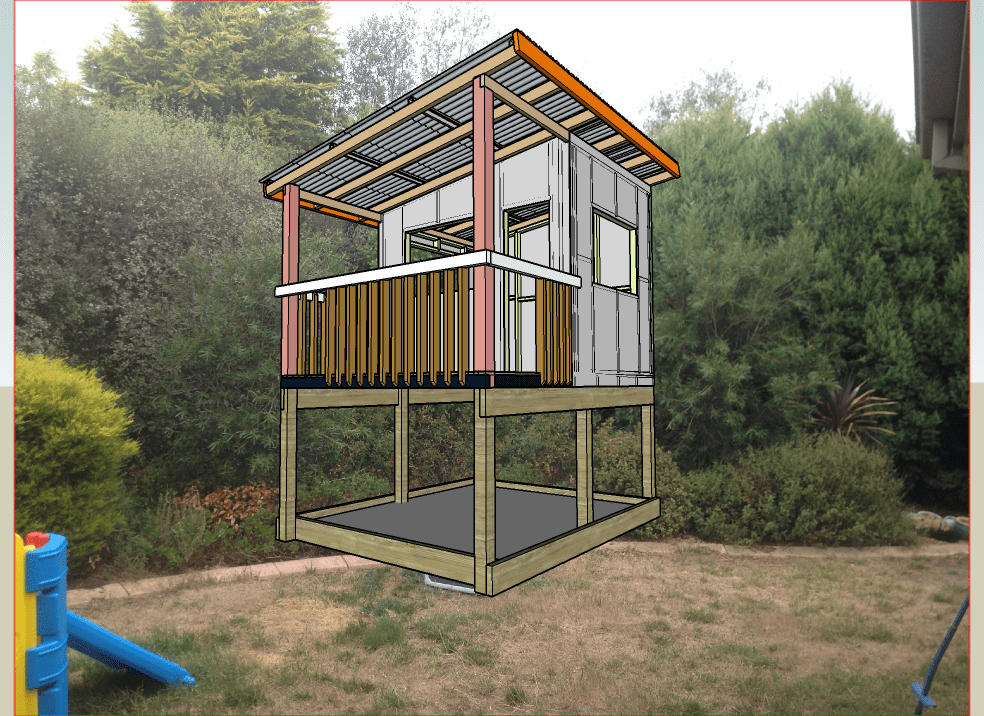
The design viewed from the front placed over a photo of where I would like it to be. I do all my design work for projects like this in Google Sketchup – it’s awesome that a tool this powerful is available for free.
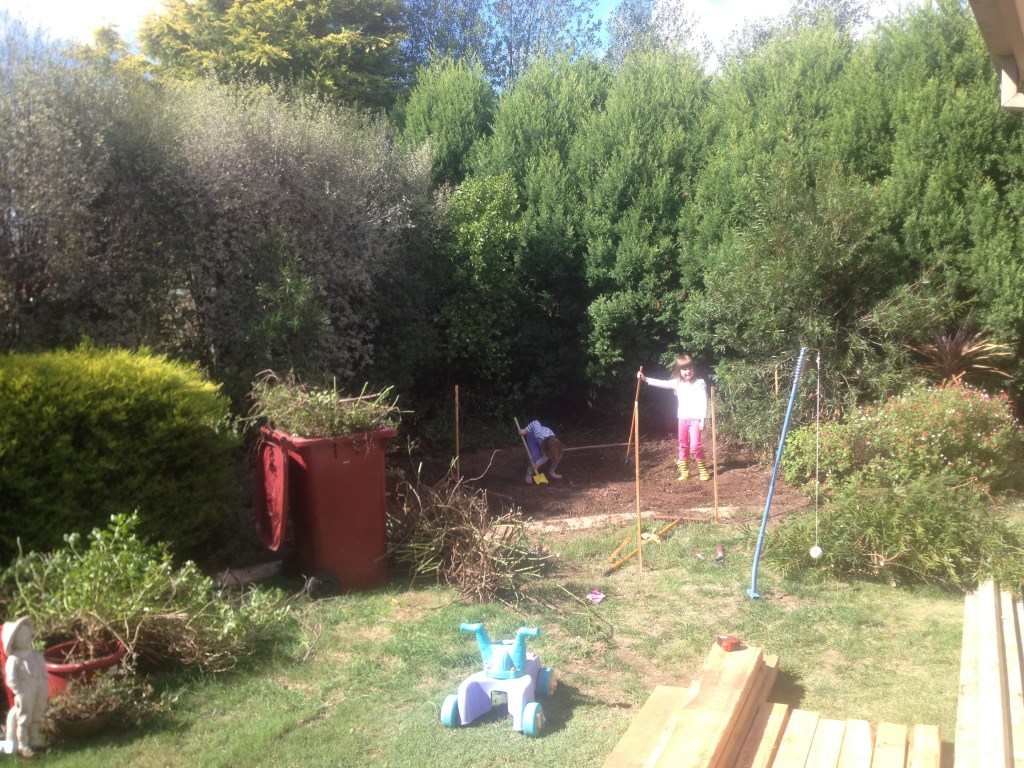
The kids helped me to clear the site out – we had to remove some concrete curbing that was the garden edge, remove the plants and level the area out with shovels.
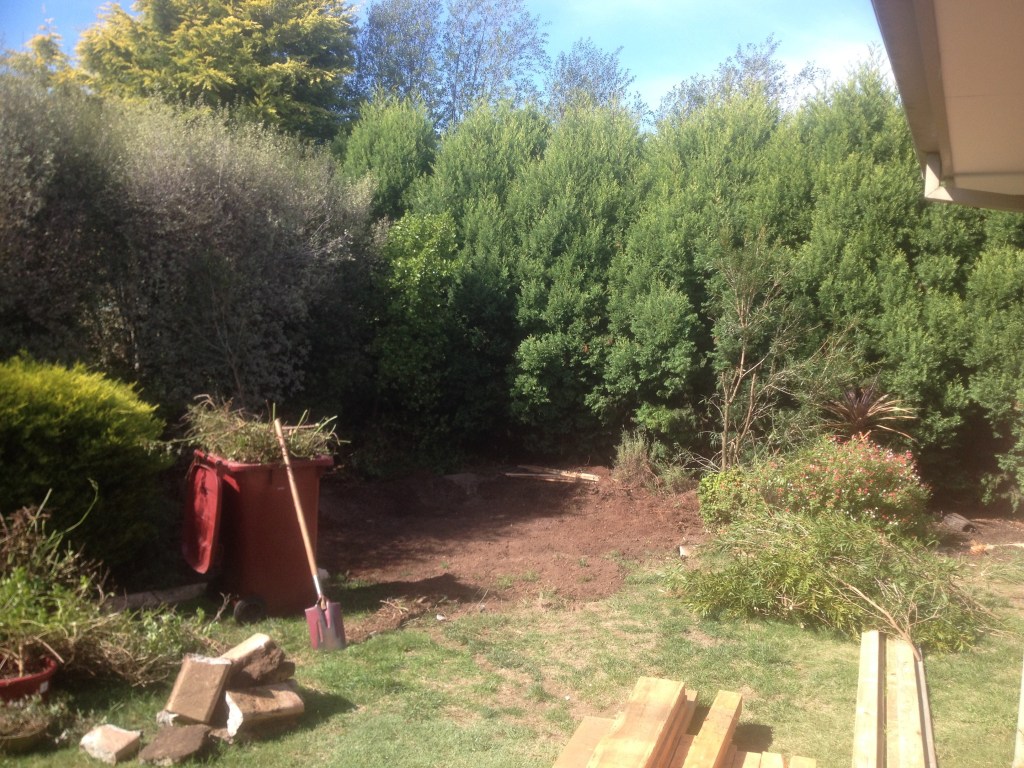
The area for the cubby and sandpit all cleared, and the old garden edging removed. No turning back now!
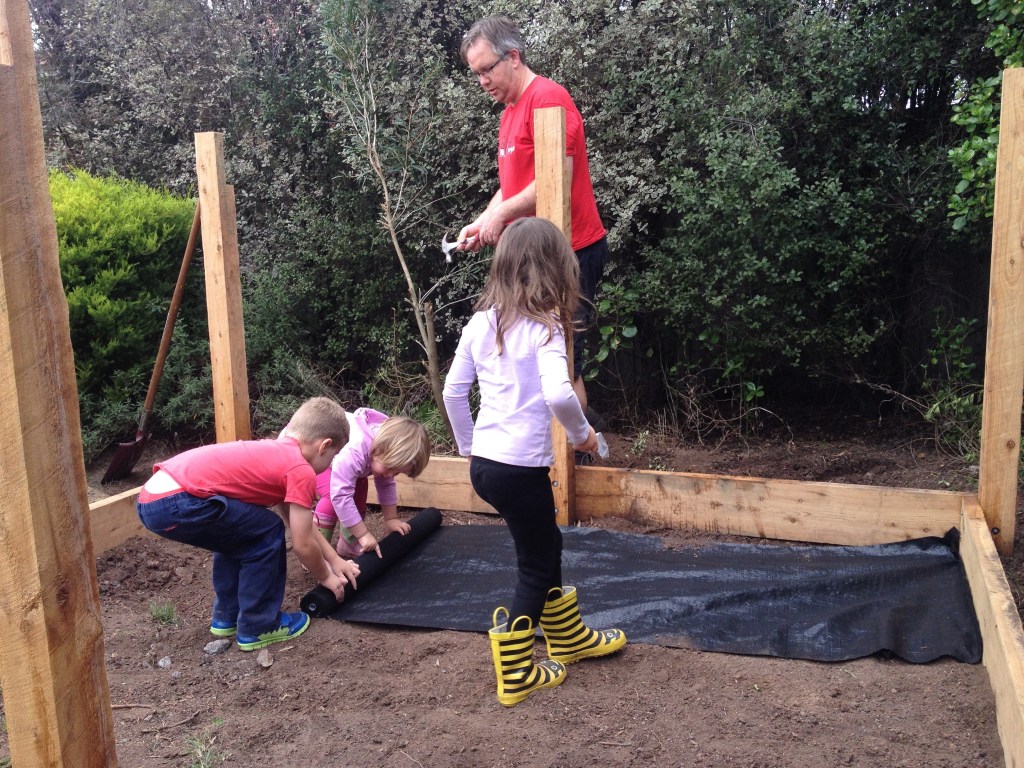
The frame for the sandpit is made out of cypress pine sleepers & posts, and bolted together with galvanised bolts. The ends and nuts of the bolts are recessed inside the post using a spade bit so the kids won’t scratch themselves, and the posts are buried in the the ground by about 18” (with a bag of quick-set cement around each one). Cypress is great because it’s naturally resistant to termites, so it’s a good for situations like this where you don’t want kids playing on chemically treated wood.
After the frame for sandpit and cubby legs were built the kids helped me lay weed matting across the bottom before we put sand down.
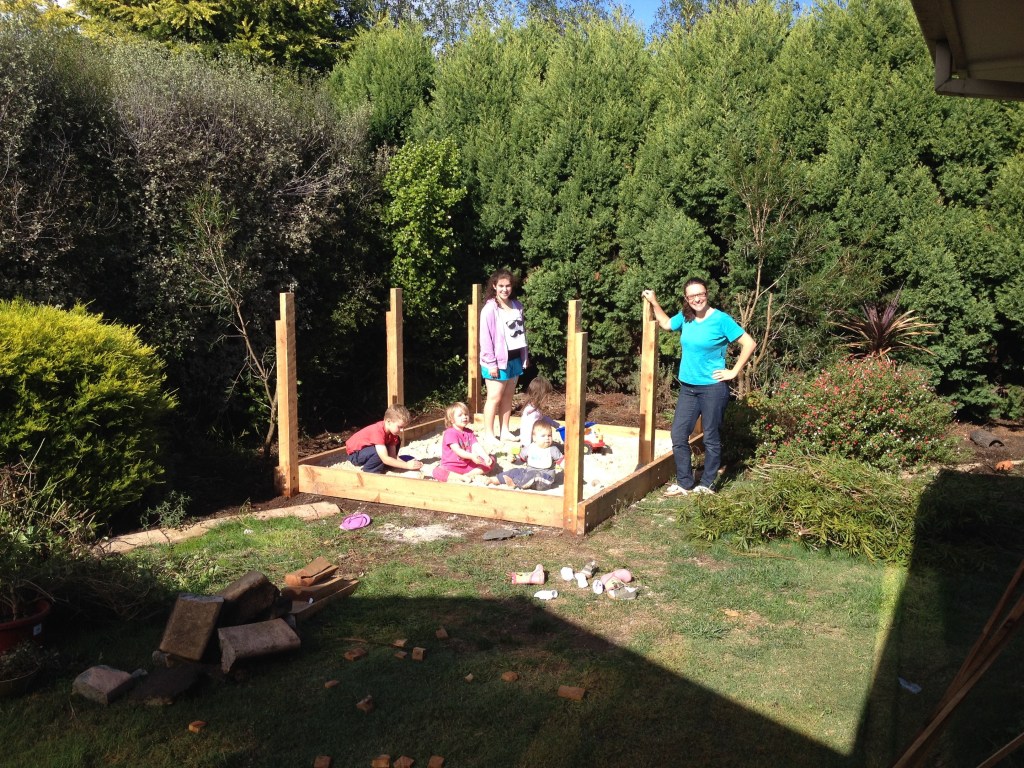
Here the sandpit all full of sand, and the kids having their first play in the sand. At the moment we’re just laying some shadecloth over the sand overnight (weighted down with bricks) so that the local cats don’t use it as a giant litterbox. Later I’ll add a more permanent solution.
Summer of 2014-2015
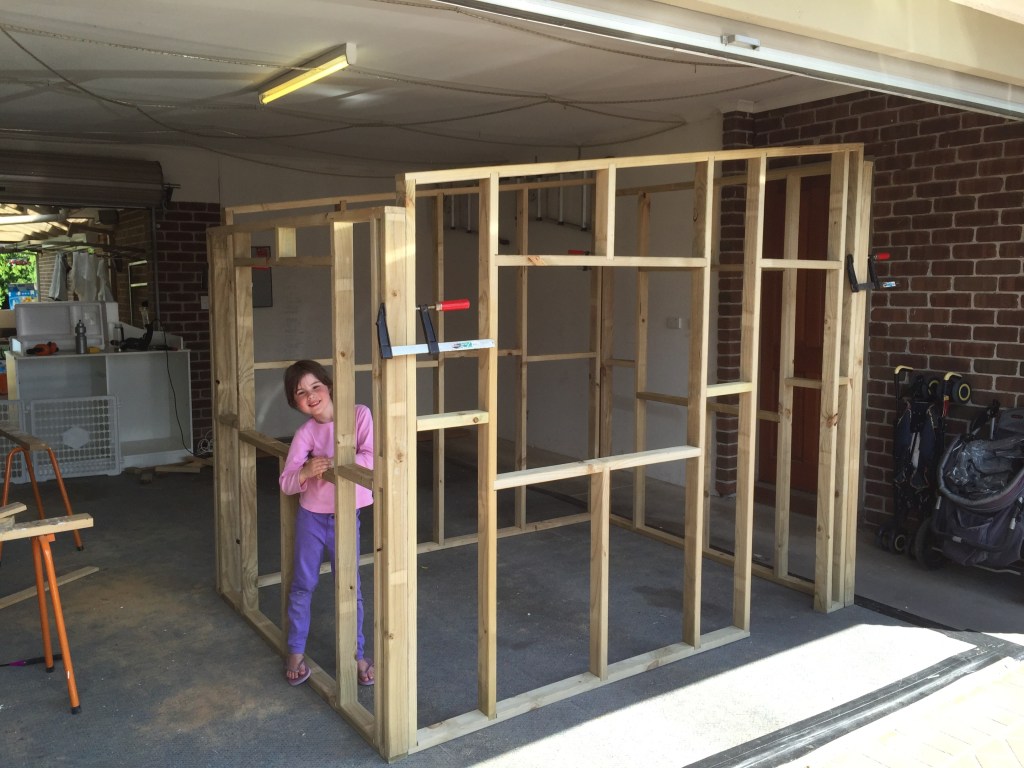
I cut and built the frame in the garage and assembled it with bolts so that I could dismantle it into four sides and lift it up on top of the platform.
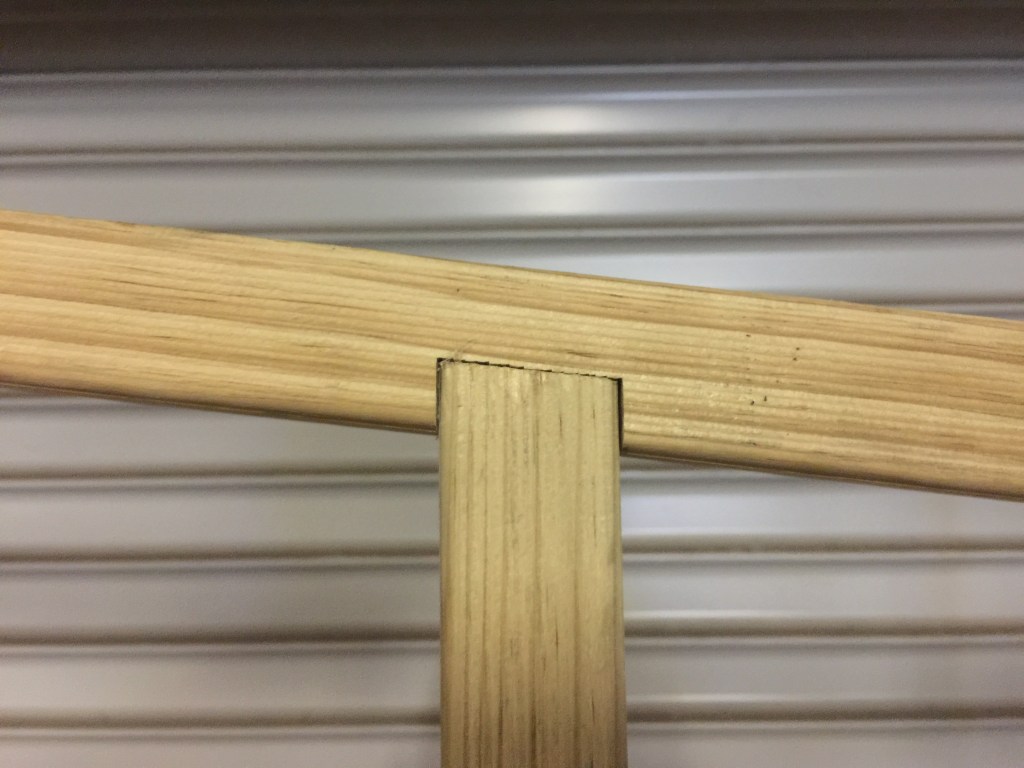
The roof is in a 1-in-8 slope (about 7°) so I’m really glad I have a mitre saw to help with getting all the angles right for the cuts. I used the mitre saw to do all the trenching (dadoing if you’re in the US) – it would’ve been handy to have a set of dado blades for that, but they’re pretty expensive. Instead I just made a bunch of parallel cuts and then cleared the scraps with a chisel. The results were pretty clean, precise and consistent.
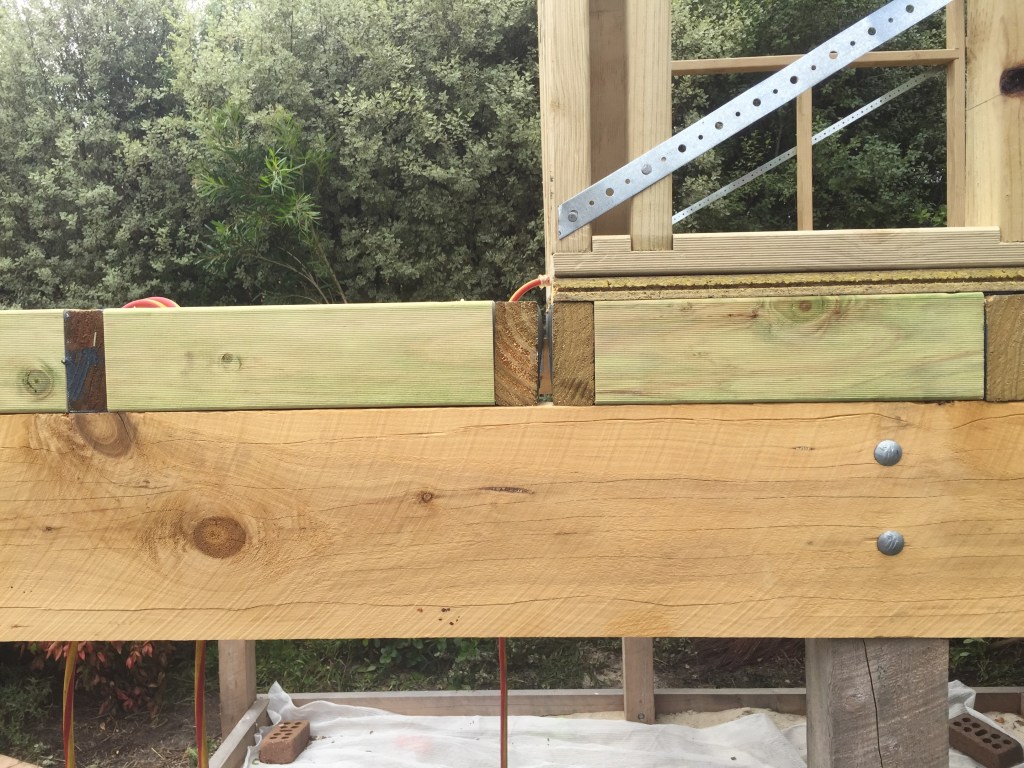
There are technically two platforms for the cubby – the frame goes on the back platform to make the room, and that section has a layer of structaflor over the joists. The front section is the cubby deck, and there is a gap between the two. The cladding for the room section goes down between these two sections, so that any rain runoff doesn’t flood the room.
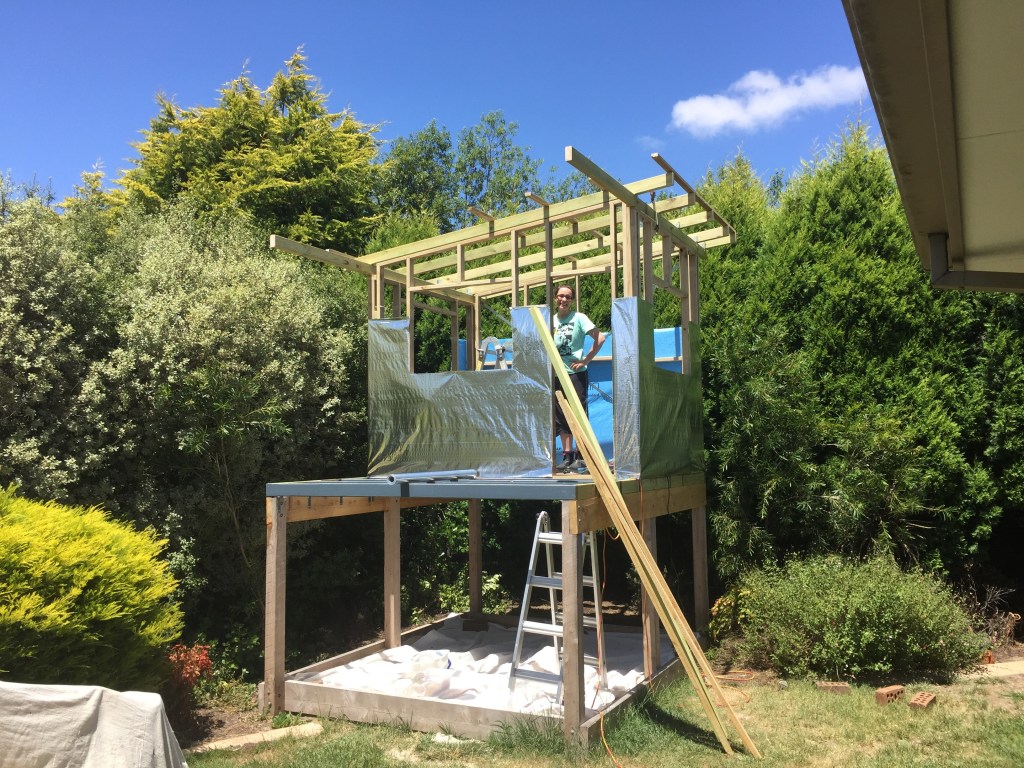
After the frame was up and attached to the deck, my wife and I covered the outside with sarking. This is a layer of insulation to keep the cubby cooler/warmer and helps keep moisture out. The sarking was then covered with a layer of fibre-cement sheeting nailed on with galvanised clouts.
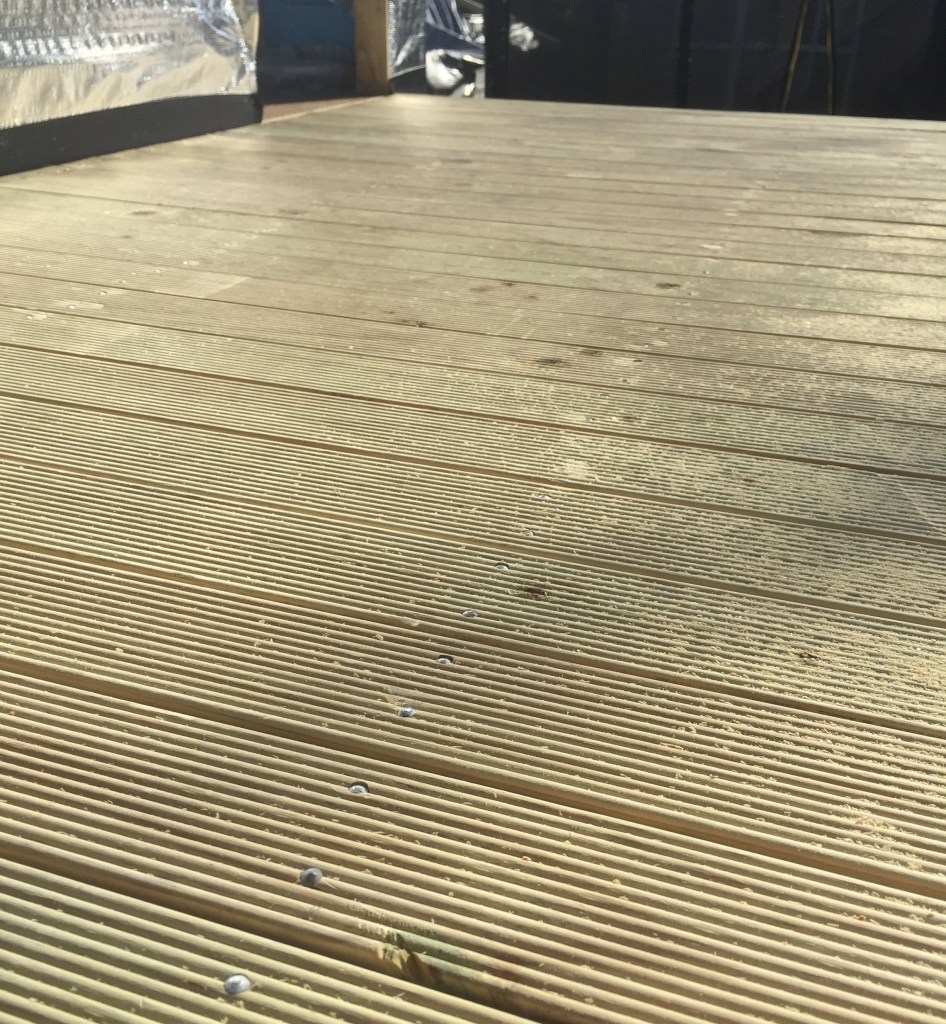
Next I laid decking on the front section, which completed the platform so I had a safe way to attach the roofing. I used cheap treated pine decking boards, skew nailed in to the joists along with a generous serve of liquid nails to stop it squeaking.
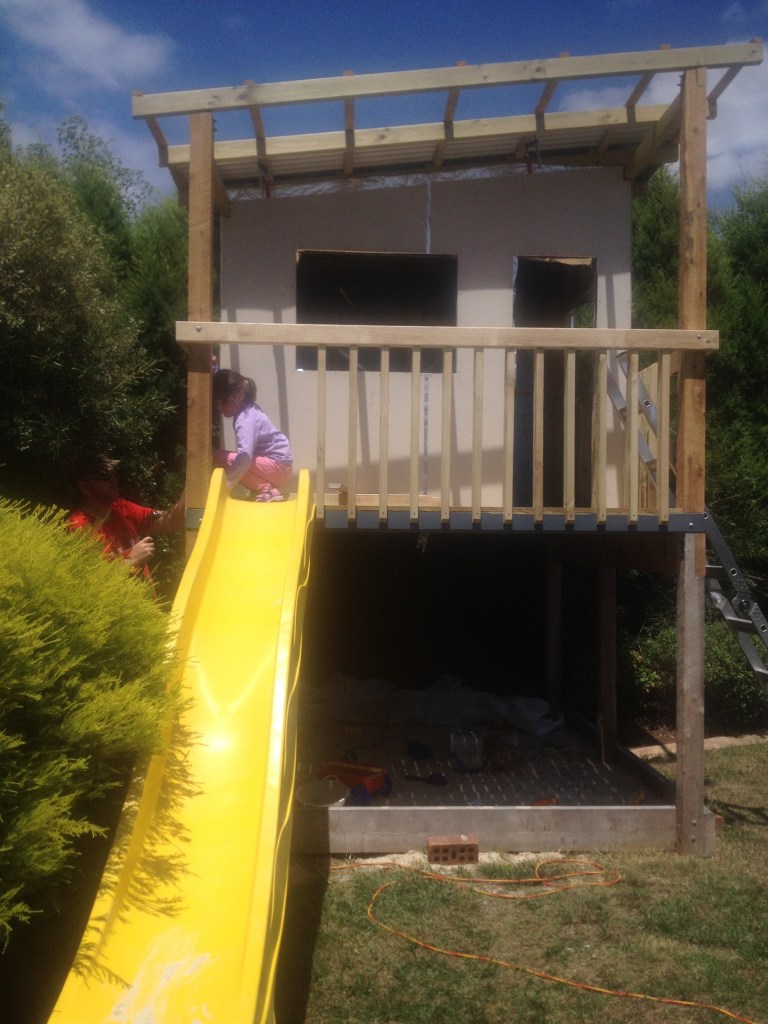
I built a couple of jigs to knock up 20+ identical balusters with my mitre saw and drill press, and then used spacer blocks to attach the balusters to the frame. My eldest was keen to help out with positioning the balusters and making sure they were spaced correctly.
In this shot I’ve already added the slide – it’s 3.1m slide I bought from a local playground equipment store. The slide includes an adapter for attaching a hose so you can have water running down it – I’m looking forward to a hot day when we can put a paddling pool at the bottom for the kids to land in!
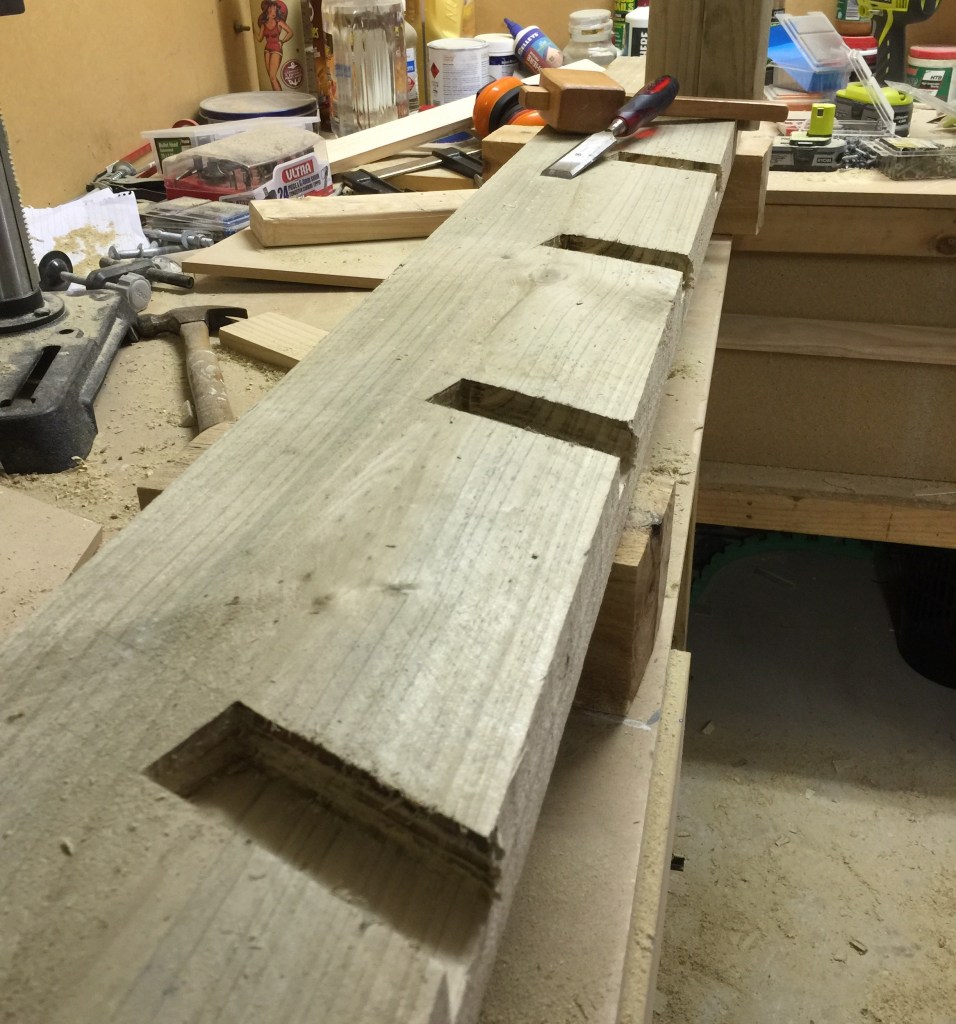
The last thing to do to make the cubby ready for play was to build a ladder. I thought about building a full set of proper steps with a little platform, but that would’ve taken a lot longer and taken up more space, so instead I went with a step ladder.
The stringers were made from a couple of treated $8 pine sleepers – I used my router to cut trenches for the steps and then squared them out with a chisel. The steps are 140mm (about 5½”) wide and 35mm (about 1¼”) thick.
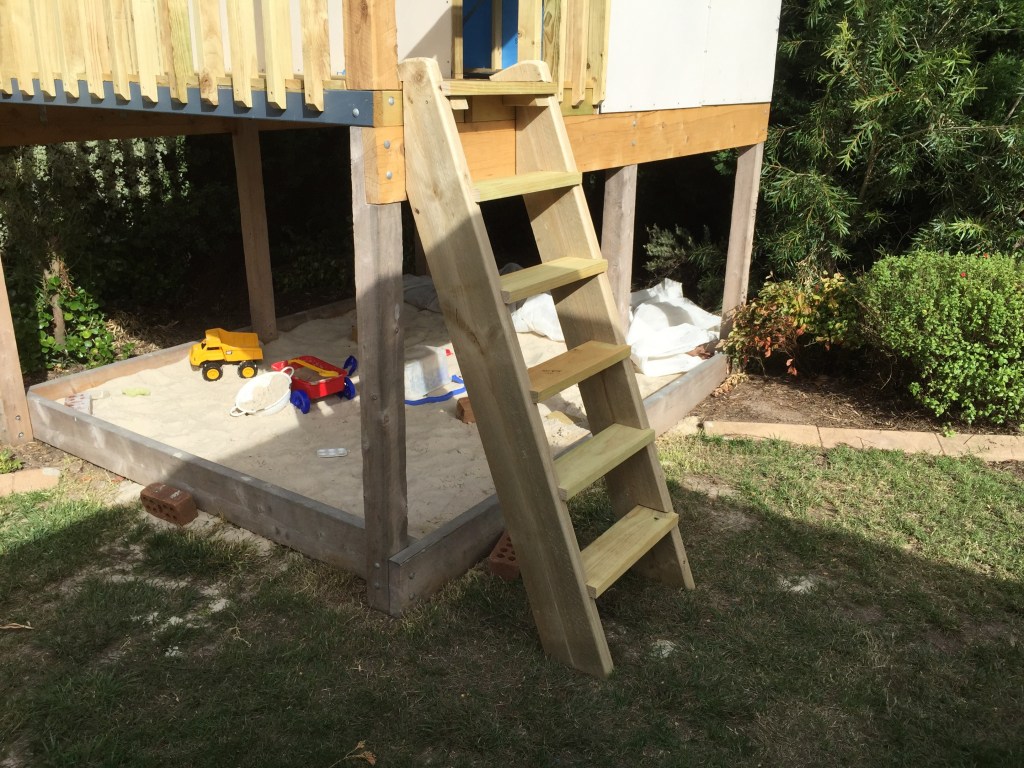
Here’s the ladder in place, though it’s not completely finished in this shot: I added small blocks under each step to hold it together. I could’ve put screws from the outside of the stringers into the end grain of the stringers, but I didn’t think they would hold very well in the long run. Instead the end of each step is attached to a small block, and then I screwed from the outside of the stringer into the side grain of that small block. It’s quite rigid and very strong.

Here’s where I ended up with the cubby at the end of my summer break. It’s ready for the kids to play on it, though not completely weather sealed since there are no windows or a door.
2017
We made a latching door handle for the cubby: